Get started
Before you install contact Sunbreak. We will provide you with a plugin. Ensure you download it to a location ready for installation.
Installation
Installing Sunbreak Personalization is easy, follow these steps.
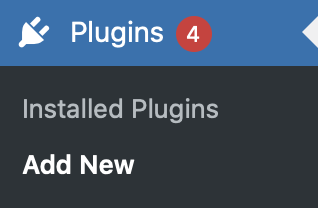
- From the WordPress admin dashboard, select Plugins -> Add New.
- Click on the “Upload Plugin” in the top left corner.

- Select the Personalization.zip file from where you downloaded it.
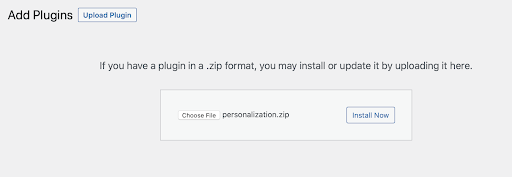
- Click on the “Install Now” button.
- After the plugin is installed, click on the “Activate Plugin” button.
Creating an account
Sunbreak Personalization is a SaaS solution. This means that you need to create an account to connect to the Sunbreak servers. This is easy to do.
Selecting a database location
By default, there are two options for database location, Development or Production. There is an additional “Use custom server” checkbox - this is for production use. When you are ready to go live Sunbreak will provide you with a custom URL. For evaluation, select Production.
- From the WordPress admin menu, select Personalization.
- You will see a login / sign-up dialog box. If this is the first time you are installing, select the sign-up tab.
- Fill in the form and click connect.
- That’s it, you’re ready to go!