Personalizing blocks
You can create personalized, dynamic content for any WordPress page, using any WordPress block. Personalized blocks allow you to switch between audiences. The default audience is the “anonymous” view. The anonymous view is saved to the WordPress database as a failsafe.
Open a WordPress page
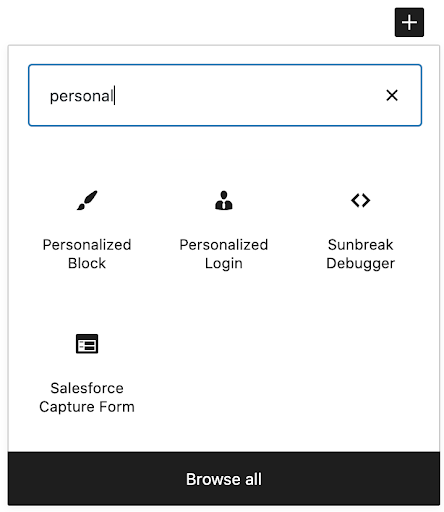
Click on the “+” symbol to add a new WordPress block.
From the menu select “Personalized Block” to create a new personalized block, capable of containing a multitude of other WordPress blocks.
- Select which WordPress block you would like to personalize. Select “paragraph” and enter a message for anonymous visitors.
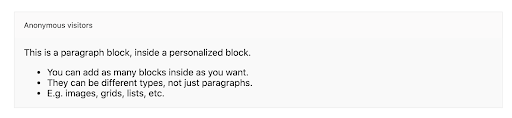
A personalized block can contain as many or as few blocks as you want.
To personalize for a different audience, click on the single person icon, then select the audience you want to edit.
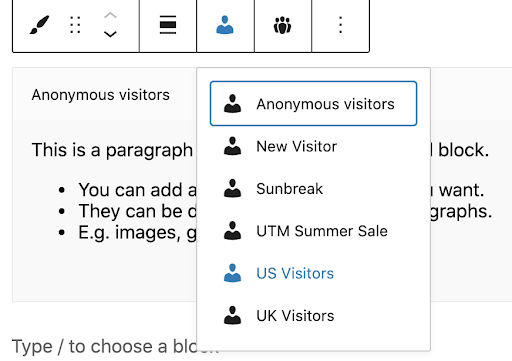
- The content from the anonymous will be copied over by default. You can edit as you wish. You don’t need to keep the same types of block. For example, the anonymouse block could be a paragraph block, but the US Visitors might be an image, or a list of posts for a certain category. For this example, we’ve just used some text to welcome US visitors.
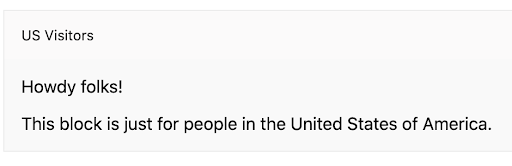
Now click “Publish” in the top right corner, and view your page. If you have followed this example, you will see the content for your country. Note that it is possible to preview different content for different audiences using the “Impersonate” option from the top admin menu on any WordPress page or post.
Now, let’s build an audience and determine which audiences you want to target.

Transforming existing blocks
It’s equally possible to transform existing blocks into personalized ones. For this example we’re going to use an image block.
Select the block you want to transform.
In the menu above the block a menu will appear. On the left hand side is an icon for the block type you’ve editing. Click on the icon, which will give you a list of options to transform to.
Select “Personalized block”. Voila, you now have a personalized block with your previous block inside it as the anonymous view.
This behaves exactly the same as creating a new personalized block first, then adding content.

For this example, we’re going to select a “UK Visitors” audience.
For this example, we going to edit the image block and choose a more personalize image for UK visitors.
- Then click update as normal, and view the page. That’s it. You’ve not transformed an existing block into a personalized one.